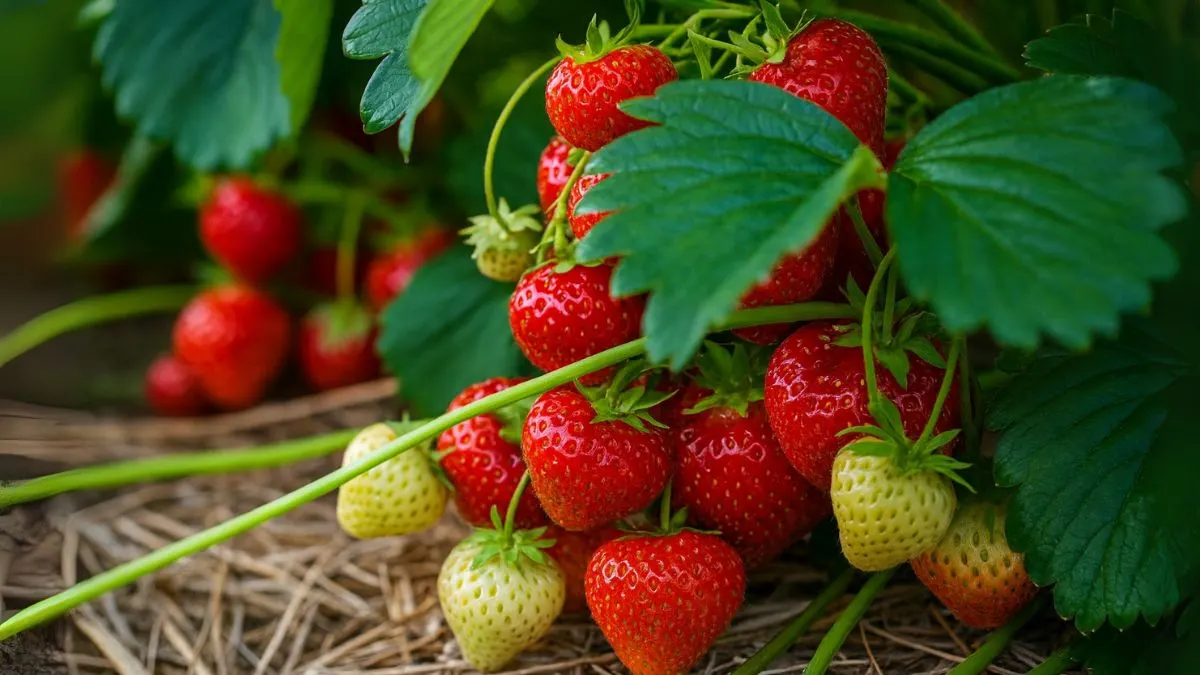
Growing strawberries from nursery plants is common, but starting from tiny seeds feels magical. Imagine holding something so small that it’s barely visible, yet within weeks it turns into a vibrant plant capable of producing baskets of berries.
In my own backyard in Canada, I first experimented with strawberry seeds after being gifted a packet of alpine strawberries. The process took patience, but the joy of watching the first sprouts appear was worth every moment.
Tools Needed Before You Start
Before you dive in, it’s important to gather the tools needed for success. Fortunately, growing strawberries doesn’t require fancy equipment.
Here’s a quick checklist:
| Tools Needed | Purpose |
| Seed or plug trays | For sowing seeds indoors |
| Spray bottle | Gentle watering without dislodging seeds |
| Heat mat | Keeps soil warm for faster germination |
| Grow lights | Provide consistent light in low-sun areas |
| Fine potting mix | Ensures seeds settle into a soft medium |
With these basics ready, you’re set up for a smooth start.
Step 1: Start by Sowing Seeds Indoors
The most reliable way to begin is to start by sowing seeds indoors in seed or plug trays during the fall. Fall sowing gives seeds plenty of time to establish before the next growing season.
Fill trays with a fine-textured potting mix. Sprinkle seeds on top—don’t bury them deeply since strawberry seeds need light to germinate. Mist gently with a spray bottle and cover the trays with a humidity dome or plastic wrap to retain moisture.
Also Read: Avocado Hack: Grow a Tree From Seed—No Toothpicks, No Fuss!
Step 2: Soil Choice Matters
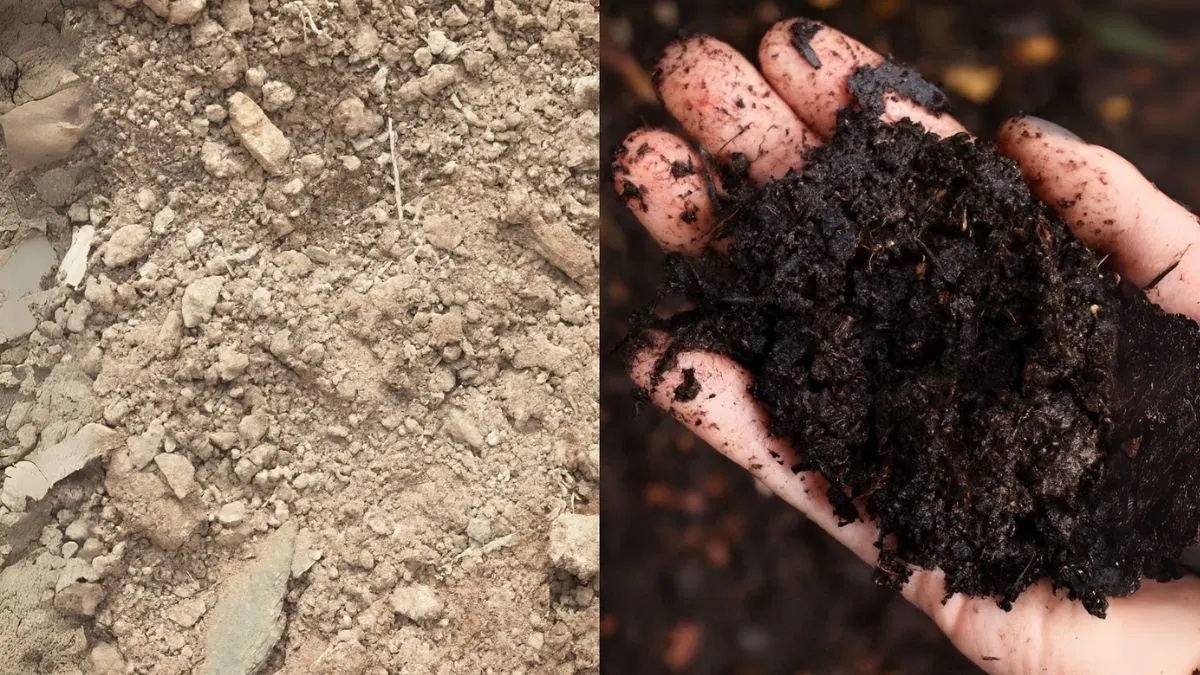
Strawberry seeds are delicate and thrive best when the medium is airy. That’s why loose and well drained soil is best for germinating seeds. Dense or compacted soil can suffocate the tiny roots.
Mix potting soil with perlite or sand to improve drainage. In my experience, using a fluffy mix made all the difference—the seedlings developed stronger roots and grew evenly.

Step 3: Germination and Early Care
Seeds usually take 2–4 weeks to germinate. Place the trays in a bright, warm area. If you live in Canada or the northern USA where daylight is limited in fall, supplement with grow lights.
Keep the soil moist but never waterlogged. A spray bottle works perfectly for this delicate stage. Watching those first green sprouts emerge is one of the most rewarding parts of gardening.
Step 4: Nurturing Seedlings
Once the seedlings have sprouted, the focus shifts to nurturing seedlings and transplanting them to their final growing location. At this stage, remove the humidity cover and provide 12–14 hours of light daily.
Thin out weaker sprouts to give the stronger ones more room. Apply a diluted organic fertilizer every two weeks to encourage steady growth.
Step 5: Transplanting Outdoors
When seedlings have at least three to four true leaves, harden them off by gradually exposing them to outdoor conditions. Then, transplant them into your garden or containers.
Make sure you’re nurturing seedlings and transplanting them to their final growing location carefully, avoiding damage to delicate roots. Strawberries prefer raised beds or containers where soil drainage is controlled.
Step 6: Choose Your Strawberry Variety
One of the joys of seed propagation is the ability to grow any variety from seed. From alpine strawberries with tiny, intensely sweet fruits to day-neutral varieties that fruit continuously, the options are endless.
When I grew alpine strawberries in a shaded corner, their flavor was unlike anything store-bought—small, but bursting with sweetness. Friends in the USA who tried June-bearing varieties from seed enjoyed larger harvests within two years.
Also Read: The Secret Benefits of Pine Needles for a Healthier Garden
Care Tips for Healthy Plants
Once established outdoors, strawberries need consistent care:
- Mulch around plants to retain moisture and prevent weeds.
- Fertilize during the growing season with compost or balanced fertilizer.
- Protect young plants from frost with row covers if you live in colder climates.
A little attention goes a long way—strawberries reward you with years of fruiting.
Common Mistakes to Avoid
- Skipping indoor sowing – Seeds sown directly outdoors often fail due to temperature fluctuations.
- Overwatering – Constantly soggy soil leads to fungal diseases.
- Poor soil choice – Ignoring the fact that loose and well drained soil is best for germinating seeds is one of the quickest ways to lose seedlings.
Seeds vs Nursery Plants
| Factor | From Seeds | From Nursery Plants |
| Cost | Low | Moderate to high |
| Variety | Can grow any variety from seed | Limited |
| Time to Fruit | 12–18 months | 6–12 months |
| Experience | Rewarding, requires patience | Faster, easier |
Learning how to grow strawberries from tiny seeds is both challenging and deeply rewarding. From the right tools needed and the importance of loose and well drained soil is best for germinating seeds, to the joy of nurturing seedlings and transplanting them to their final growing location, each step brings you closer to harvesting homegrown berries.
The process might test your patience, but the reward is unmatched: strawberries sweeter, fresher, and more flavorful than anything store-bought. So, whether you’re in Canada, the USA, or anywhere else in the world, gather your seeds, trays, and soil—because your journey to delicious homegrown strawberries starts today.


