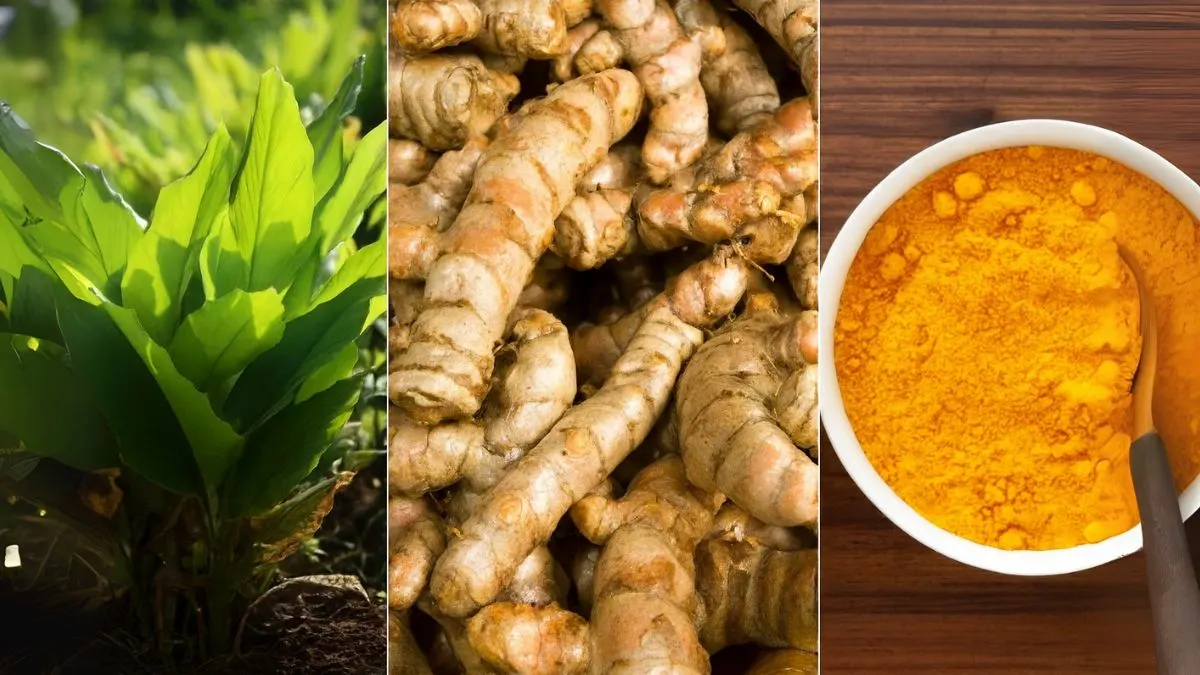
Turmeric is more than just a spice—it’s a golden root with powerful medicinal and culinary value. From anti-inflammatory benefits to adding rich flavor to curries and teas, turmeric is celebrated worldwide. But did you know you can easily grow your own turmeric indoors? Whether you live in Canada, the USA, or anywhere with cold winters, growing turmeric in containers gives you fresh, organic roots right from your home.
In this guide, I’ll share step-by-step instructions, practical tips, and even a bit of my own experience with container turmeric gardening.
Choosing and Preparing Rhizomes
The first step is selecting healthy rhizomes. Turmeric grows from underground stems, called rhizomes, rather than seeds. When preparing them, always cut or break rhizomes into pieces, each with a few nodes. These nodes are tiny buds where shoots will emerge.
Before planting, I like to spread an inch-thick layer in a shallow tray with drainage holes and lightly mist the rhizomes. This pre-sprouting step encourages quick growth and reduces the risk of rot.
Best Containers for Indoor Growth
Turmeric plants need space, so container size matters. You can start with a large container that’s at least 18 inches across and 20 inches deep. For smaller indoor gardens, you can also fill up small pots with organic potting soil halfway and transfer the plants later once they establish roots.
I usually begin with multiple smaller pots and then move the strongest shoots into a larger container. This method ensures that only healthy rhizomes take up valuable space.
Also Read: The Lazy Gardener’s Hack: Regrow These 12 Veggies from Trash
Soil Requirements
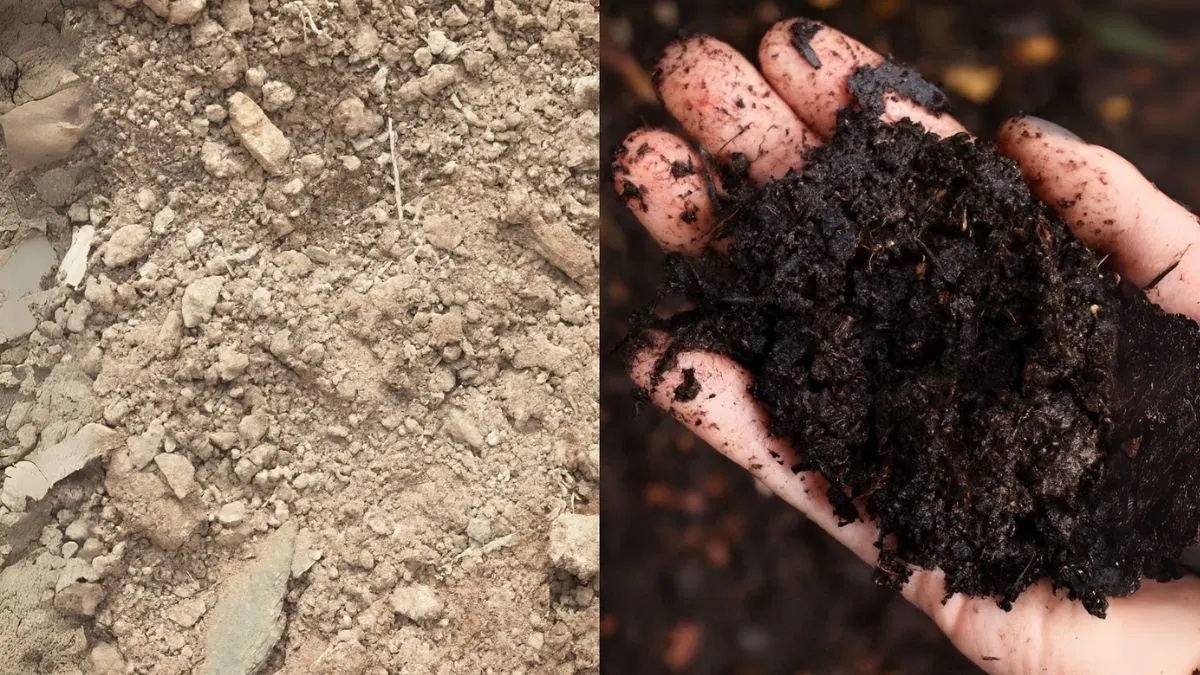
Turmeric loves nutrient-rich soil. Always fill a container with rich, loamy soil to ensure proper growth. The soil should be slightly acidic to neutral, well-drained, and consistently moist.
When planting outdoors, gardeners often amend the soil with compost. Indoors, I recommend mixing organic compost into your potting mix. This creates the perfect environment for roots to spread without getting waterlogged.
Planting Depth and Spacing
Once your soil is ready, plant the rhizomes about 4-6 inches deep in the soil, spacing them 8-12 inches apart. For container growing, spacing ensures each plant has enough room to thrive.
If you’re using trays or small pots, keep spacing tighter in the beginning, then thin them out later by transferring healthy plants into larger containers.

Sunlight and Location
Turmeric may be tropical, but it adapts well indoors when given the right light. Place your container in a location that receives bright, indirect sunlight. A south-facing window works perfectly.
Turmeric doesn’t like harsh direct sun indoors, but it does need warmth. If you don’t get enough light, consider using a grow light for 6–8 hours daily.
Also Read: Turn a Single Rose Bud into a Blooming Garden
Watering Needs
One of the biggest mistakes beginners make is overwatering. Turmeric likes moisture but not soggy roots. Always keep the soil evenly damp. I’ve found success by watering deeply once the top inch of soil feels dry, ensuring excess water drains out.
For young plants, misting can help maintain humidity. Indoors, especially during Canadian or American winters when heating dries out the air, this makes a big difference.
Fertilization
When first planting, you can use a granular 2-1-1 fertilizer or enrich the soil with compost. As the plants grow, a monthly liquid feed of organic fertilizer boosts leaf growth and root development. Remember, turmeric takes time—patience and consistency are key.
Harvesting Turmeric
It usually takes 8–10 months for indoor turmeric to mature. You’ll know it’s ready when the leaves start turning yellow and dry. Carefully dig out the rhizomes, rinse them, and save a few pieces with nodes for the next planting season.
From one container, you can often harvest enough turmeric to last months, especially when dried and powdered.
Quick Reference Table
| Step | Key Action | Why It Matters |
| Choose Rhizomes | Cut or break rhizomes into pieces with nodes | Ensures healthy shoot growth |
| Soil | Fill a container with rich, loamy soil | Provides nutrients and drainage |
| Planting | Plant rhizomes 4-6 inches deep | Proper root establishment |
| Light | Bright, indirect sunlight | Supports steady growth indoors |
| Watering | Keep soil moist but not soggy | Prevents rot |
| Harvest | 8–10 months after planting | Yields fresh turmeric |
Also Read: Why Eating Celery for a Week Could Change Your Health
Personal Experience
The first time I grew turmeric indoors, I underestimated the space it needed. I started in small containers, then transferred them into one big pot by my sunny kitchen window. The lush green leaves made my kitchen look like a mini tropical garden. When I finally harvested, the fresh golden roots smelled stronger than any store-bought turmeric I had ever used.
Growing turmeric indoors is not just rewarding—it’s also surprisingly easy. By following simple steps like filling up small pots with organic soil, planting rhizomes about 4-6 inches deep, and keeping them in bright, indirect sunlight, you can enjoy a year-round supply of this golden spice.
So next time you reach for turmeric powder in your pantry, remember—you could be harvesting it fresh from your very own home.
👉 Ready to try? Pick up some rhizomes, a pot, and start your indoor turmeric journey today!


