Lavender propagation looks complex until it clicks—then it’s a simple, satisfying two-minute ritual. After years of growing lavender in balcony containers and front-yard borders, the single biggest unlock was prep: a sharp pair of pruners, a gritty mix, and quick, confident cuts. The rest is patience and light misting. Whether creating gifts or filling a hedge, this method is fast and reliable.
The 2-Minute Method (Step-by-Step)
- Select a healthy, non-flowering side shoot, remove lower leaves, and dip the end in rooting hormone (optional). Place the cutting in well-draining compost, water, and provide humidity. This single action sequence—cut, strip, dip, stick—sets you up for high success in minimal time.
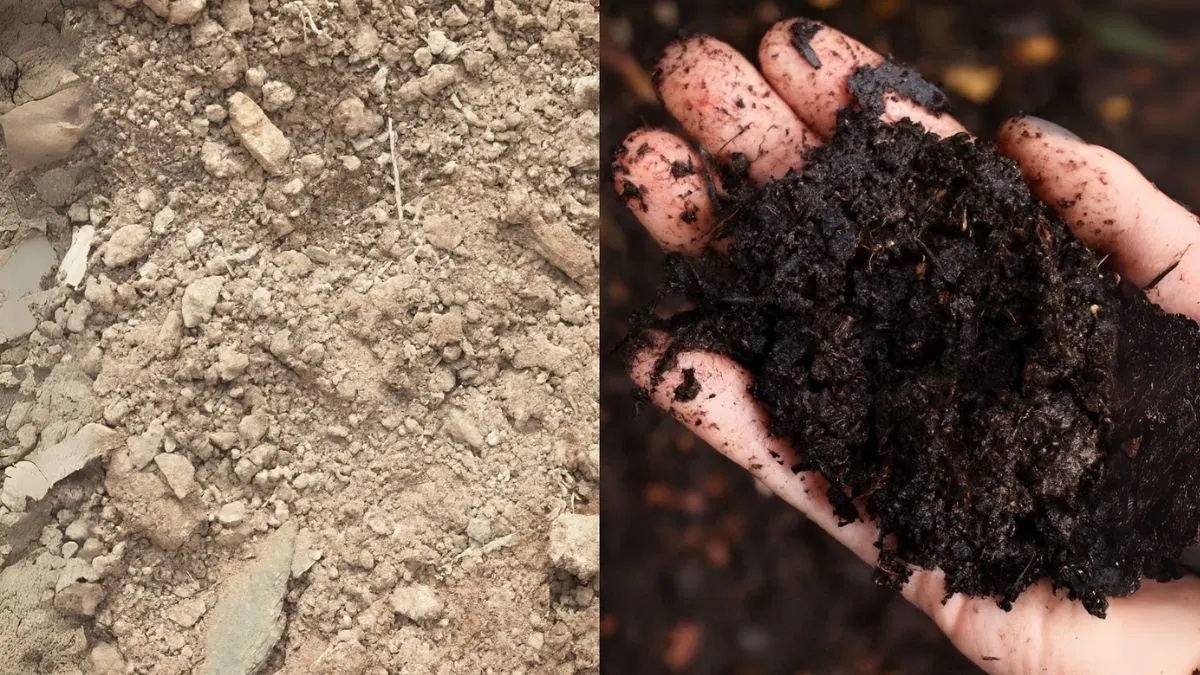
- Fill a small pot with well-draining compost mixed with grit or perlite to prevent rot and encourage rapid root formation; gritty blends keep oxygen around delicate stems.
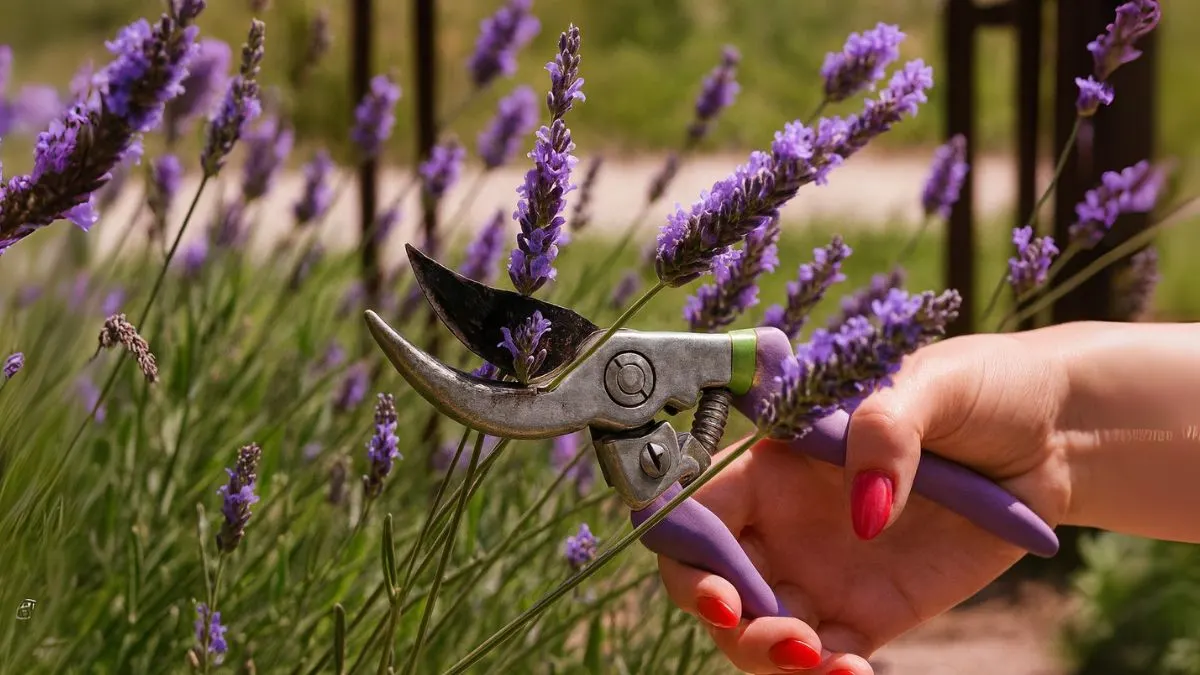
- Use a clean and sharp knife or pruning shears to take cuttings that are 3-4 inches long, ideally softwood with a sliver of semi-ripe base for vigor.
- Firm the medium around the stem, label, and mist. A clear cover (jar, bag, or dome) boosts humidity but allow brief daily venting to prevent mold.
- Bottom warmth (70–75°F/21–24°C) speeds rooting; remove heat once rooted to harden off gradually.
Timing, Tools, and Mix
- When to cut: Late spring to mid-summer is prime for softwood cuttings; semi-ripe cuttings work late summer. You need to cut the old blooms and stems off just after the plant is done blooming—this both tidies the plant and pushes new, cutting-ready shoots.
- Tools: Sterilize pruners before each session to reduce rot; label varieties if you’re mixing English, French, or Spanish types.
- Medium: A half-and-half blend of compost/potting mix with perlite or horticultural grit is ideal—light, airy, and quick-draining to discourage damping-off.
Aftercare: Rooting to Potting Up
- Light & humidity: Bright, indirect light is perfect; keep the medium just moist, never soggy. Humidity covers help early but should be cracked open daily.
- Root check: In 2–6 weeks, gentle tugging meets resistance—roots are in. Pot up into a slightly richer, still-gritty mix, then acclimate to more sun and airflow over 7–10 days.
- Feeding: Hold off on fertilizer until strong new growth appears; lavender prefers lean conditions at the start.
Also Read: Orchids That Bloom All Year: Stunning Varieties & Care Secrets
Troubleshooting Fast
- Wilting stems: Too wet or too hot. Vent covers, reduce misting, and ensure the mix drains immediately.
- Rot at the base: Sterilize tools, discard soggy cuttings, and increase grit/perlite in the mix.
- Slow rooting: Provide gentle bottom heat and steady humidity; switch to fresh, non-flowering shoots.
2-Minute Lavender Propagation
| Step | What to do | Why it matters |
| Select shoot | Non-flowering side shoot, 3–4in | High rooting energy; less stress |
| Prepare mix | Compost + grit/perlite (50:50) | Free drainage prevents rot |
| Sanitize & cut | Clean pruners; 45° cut | Reduces disease, increases surface area |
| Strip & dip | Remove lower leaves; rooting hormone optional | Promotes callus and root initials |
| Stick & cover | Firm in; water; humidity dome | Stable moisture and airflow |
| Warmth | 70–75°F bottom heat (optional) | Faster, more uniform rooting |
Personal Tip: Batch, Then Ignore
My highest success came from batching 12–18 cuttings at once, all from vigorous, non-flowering shoots after a quick deadhead. I set them into a tray of gritty mix, misted, covered, and then largely ignored them—checking just twice a week. In 3 weeks, roots. In 6 weeks, transplant-ready. The mother plants stayed compact because I pruned right after bloom, and the new hedge filled in by fall.
Also Read: 7 Stunning Flower Bed Ideas That Will Instantly Transform Your Garden
More Lavender, Less Effort
With a sharp tool, a gritty mix, and a two-minute routine, anyone can Propagate lavender successfully. Select a healthy, non-flowering side shoot, remove lower leaves, and dip the end in rooting hormone (optional). Place the cutting in well-draining compost, water, and provide humidity. Fill a small pot with well-draining compost mixed with grit or perlite. Use a clean and sharp knife or pruning shears to take cuttings that are 3-4 inches long. And remember: You need to cut the old blooms and stems off just after the plant is done blooming so plants stay vigorous and supply perfect cutting wood for seasons to come—reliable from Canada to the USA and across the world.
Set out one pot, prep your gritty mix, and take 6 cuttings today. In under two minutes, your future lavender hedge is underway.
Click here to read more such blogs on the Toronto Garden Book!