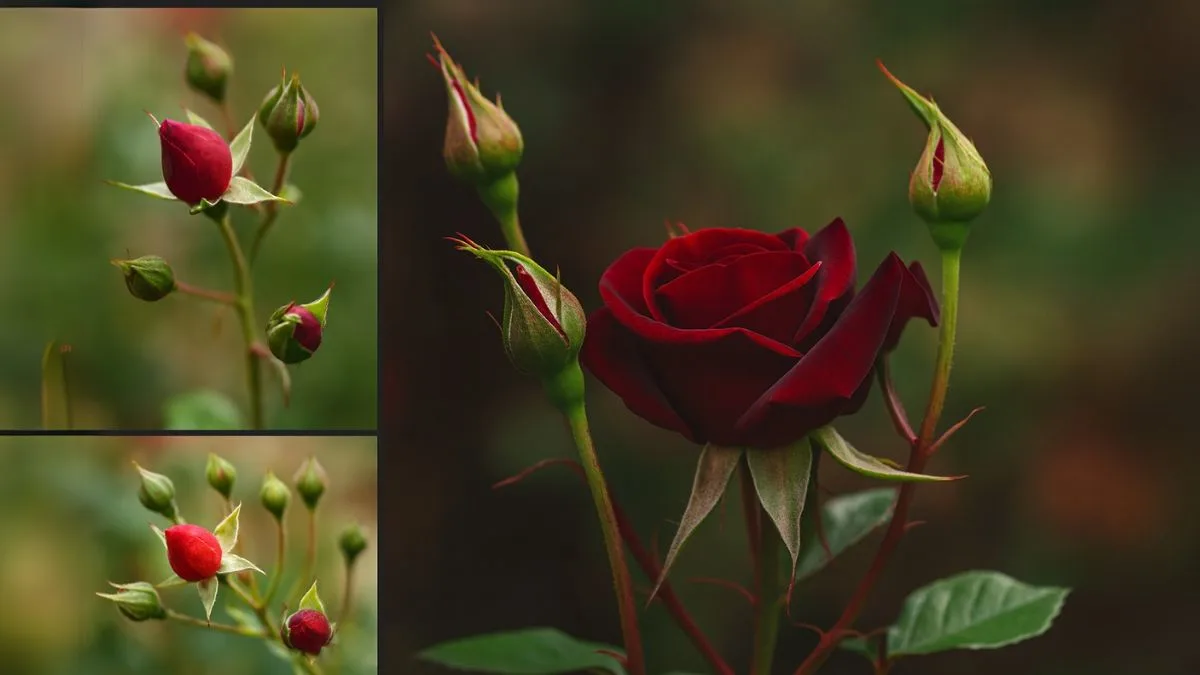
There’s something magical about roses. They’re timeless symbols of love, beauty, and elegance—and imagine the joy of growing your very own rose plant from a single bud. For gardeners in the USA, Canada, and across the globe, propagating roses isn’t just about saving money, it’s about creating something personal, something that blooms year after year.
When I first attempted to propagate roses from buds, I made plenty of mistakes. But with patience and practice, I learned that success lies in technique and care. This guide will walk you through every step of growing roses from buds—making the process simple, enjoyable, and rewarding.
Step 1: Choosing the Right Bud
Not every rosebud is suitable for propagation. The ideal cutting comes from a healthy, mature stem. Look for stems that are firm but not too woody, with at least one strong bud eye.
Tip: Many expert gardeners suggest that when cutting off flowers, always cut above a stem that has five leaves. This ensures you’re working with a strong stem that can support new growth.
Step 2: Preparing the Cuttings
Now, let’s get into the practical part—cuttings. Using a clean, sharp knife or pruners, cut a 6–8-inch section of stem with a bud. Remove flowers and most leaves, leaving only the top two leaflets.
Before planting, dip the cutting in rooting hormone to encourage root development. It’s not always necessary, but it definitely improves your chances of success.
Step 3: Water the Day Before
One common mistake gardeners make is trying to propagate a rose from a dry plant. Always remember: water the day before you plan to take your cuttings. This ensures the stem is fully hydrated and has the energy to start rooting.
I learned this trick after my first few cuttings failed to root. Once I watered the plant the day before, the survival rate improved dramatically.
Also Read: The Easiest Way to Grow Colorful Cosmos at Home
Step 4: Planting the Cuttings
Fill a small pot with a mix of sand, peat moss, and perlite. Insert the cutting about 2 inches deep, ensuring the bud eye faces upward. Cover with a plastic dome or a clear bag to create a mini greenhouse effect.
Keep the soil consistently moist but not soggy. Roots typically start developing in 3–6 weeks.
Step 5: Providing the Right Conditions
Remember, roses need plenty of sunlight and air to grow strong. Place your potted cuttings in a bright spot with indirect sunlight. Too much direct sun can scorch young cuttings, while poor airflow can encourage mold.
Gardeners in North America often keep their rose cuttings near windowsills or in shaded outdoor spaces where air circulates freely.
Step 6: Transplanting to the Garden
Once roots are well-established, it’s time to move your baby rose plant into the ground or a larger pot. Choose a location with at least 6 hours of sunlight daily.
Tip for Canadian and US gardeners: Since winters can be harsh, consider transplanting during spring or early summer for the best results.
Famous Rose Varieties Loved Worldwide
Roses are adored across the globe, and some varieties are especially popular in gardens in Canada, the USA, and beyond.
- Hybrid Tea Roses
Known for their large, elegant blooms, hybrid tea roses are a favorite for bouquets and ornamental gardens. - Floribunda Roses
These produce clusters of flowers, offering continuous color through the growing season. Perfect for gardeners who want vibrant displays. - Climbing Roses
Ideal for trellises, fences, and garden arches, climbing roses add vertical beauty. I once trained a climbing rose around my porch railing—it turned every summer evening into something magical. - Shrub Roses
Hardy and low-maintenance, shrub roses are popular in North American gardens, especially where winters can be tough.
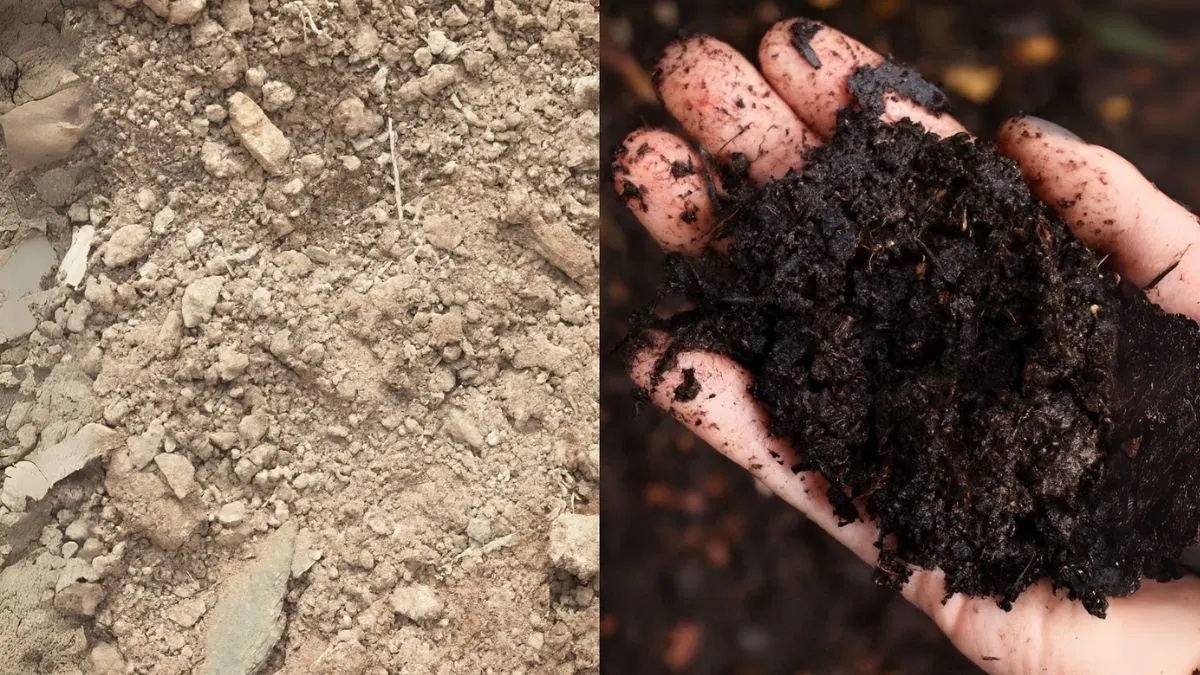
Also Read: 7 Natural Ways to Supercharge Your Garden Soil
Quick Reference Table for Propagation
| Step | Action | Key Tip |
| 1 | Select healthy bud | Cut above a stem with five leaves |
| 2 | Prepare cuttings | Remove excess leaves, use rooting hormone |
| 3 | Hydrate | Water the day before |
| 4 | Plant | Use well-draining soil mix |
| 5 | Care | Roses need plenty of sunlight and air |
| 6 | Transplant | Choose sunny spot, spring or summer best |
Learning how to grow roses from buds is both simple and rewarding once you know the steps. By choosing strong stems, preparing proper cuttings, remembering to water the day before, and ensuring that roses need plenty of sunlight and air, you set your plants up for success.
Whether you’re growing hybrid teas in a Canadian backyard, climbing roses in an American garden, or floribundas anywhere else in the world, the joy of propagating roses is universal. Start small, stay patient, and soon you’ll be surrounded by beautiful blooms that you grew with your own hands.